Happy New Year!
I hope you all had a lovely festive season. As it's the start of the New Year, what better way to kick things off than with a brand new Suite Showcase blog in collaboration with my friend and fellow crafter, Alison from The Inkspirational Crafter.
Today we're showcasing the Hues of Happiness Suite. This is one of my absolute favourites.
My first card is a good example of what can be created if you're a beginner. It doesn't have to have lots of layers or details for you to create a beautiful card. With a standard A6 card base (10.5cm x 29.7cm scor4ed at 14.85cm) in Gorgeous Grape, I added a white layer and then cut down a smaller layer of Gorgeous Grape and some designer series paper (DSP) both of the same size and off set them. To add some embellishment, I cut some flowers from a sheet of the DSP and then finished it off by stamping the sentiment and adding some embellishments from the suite.
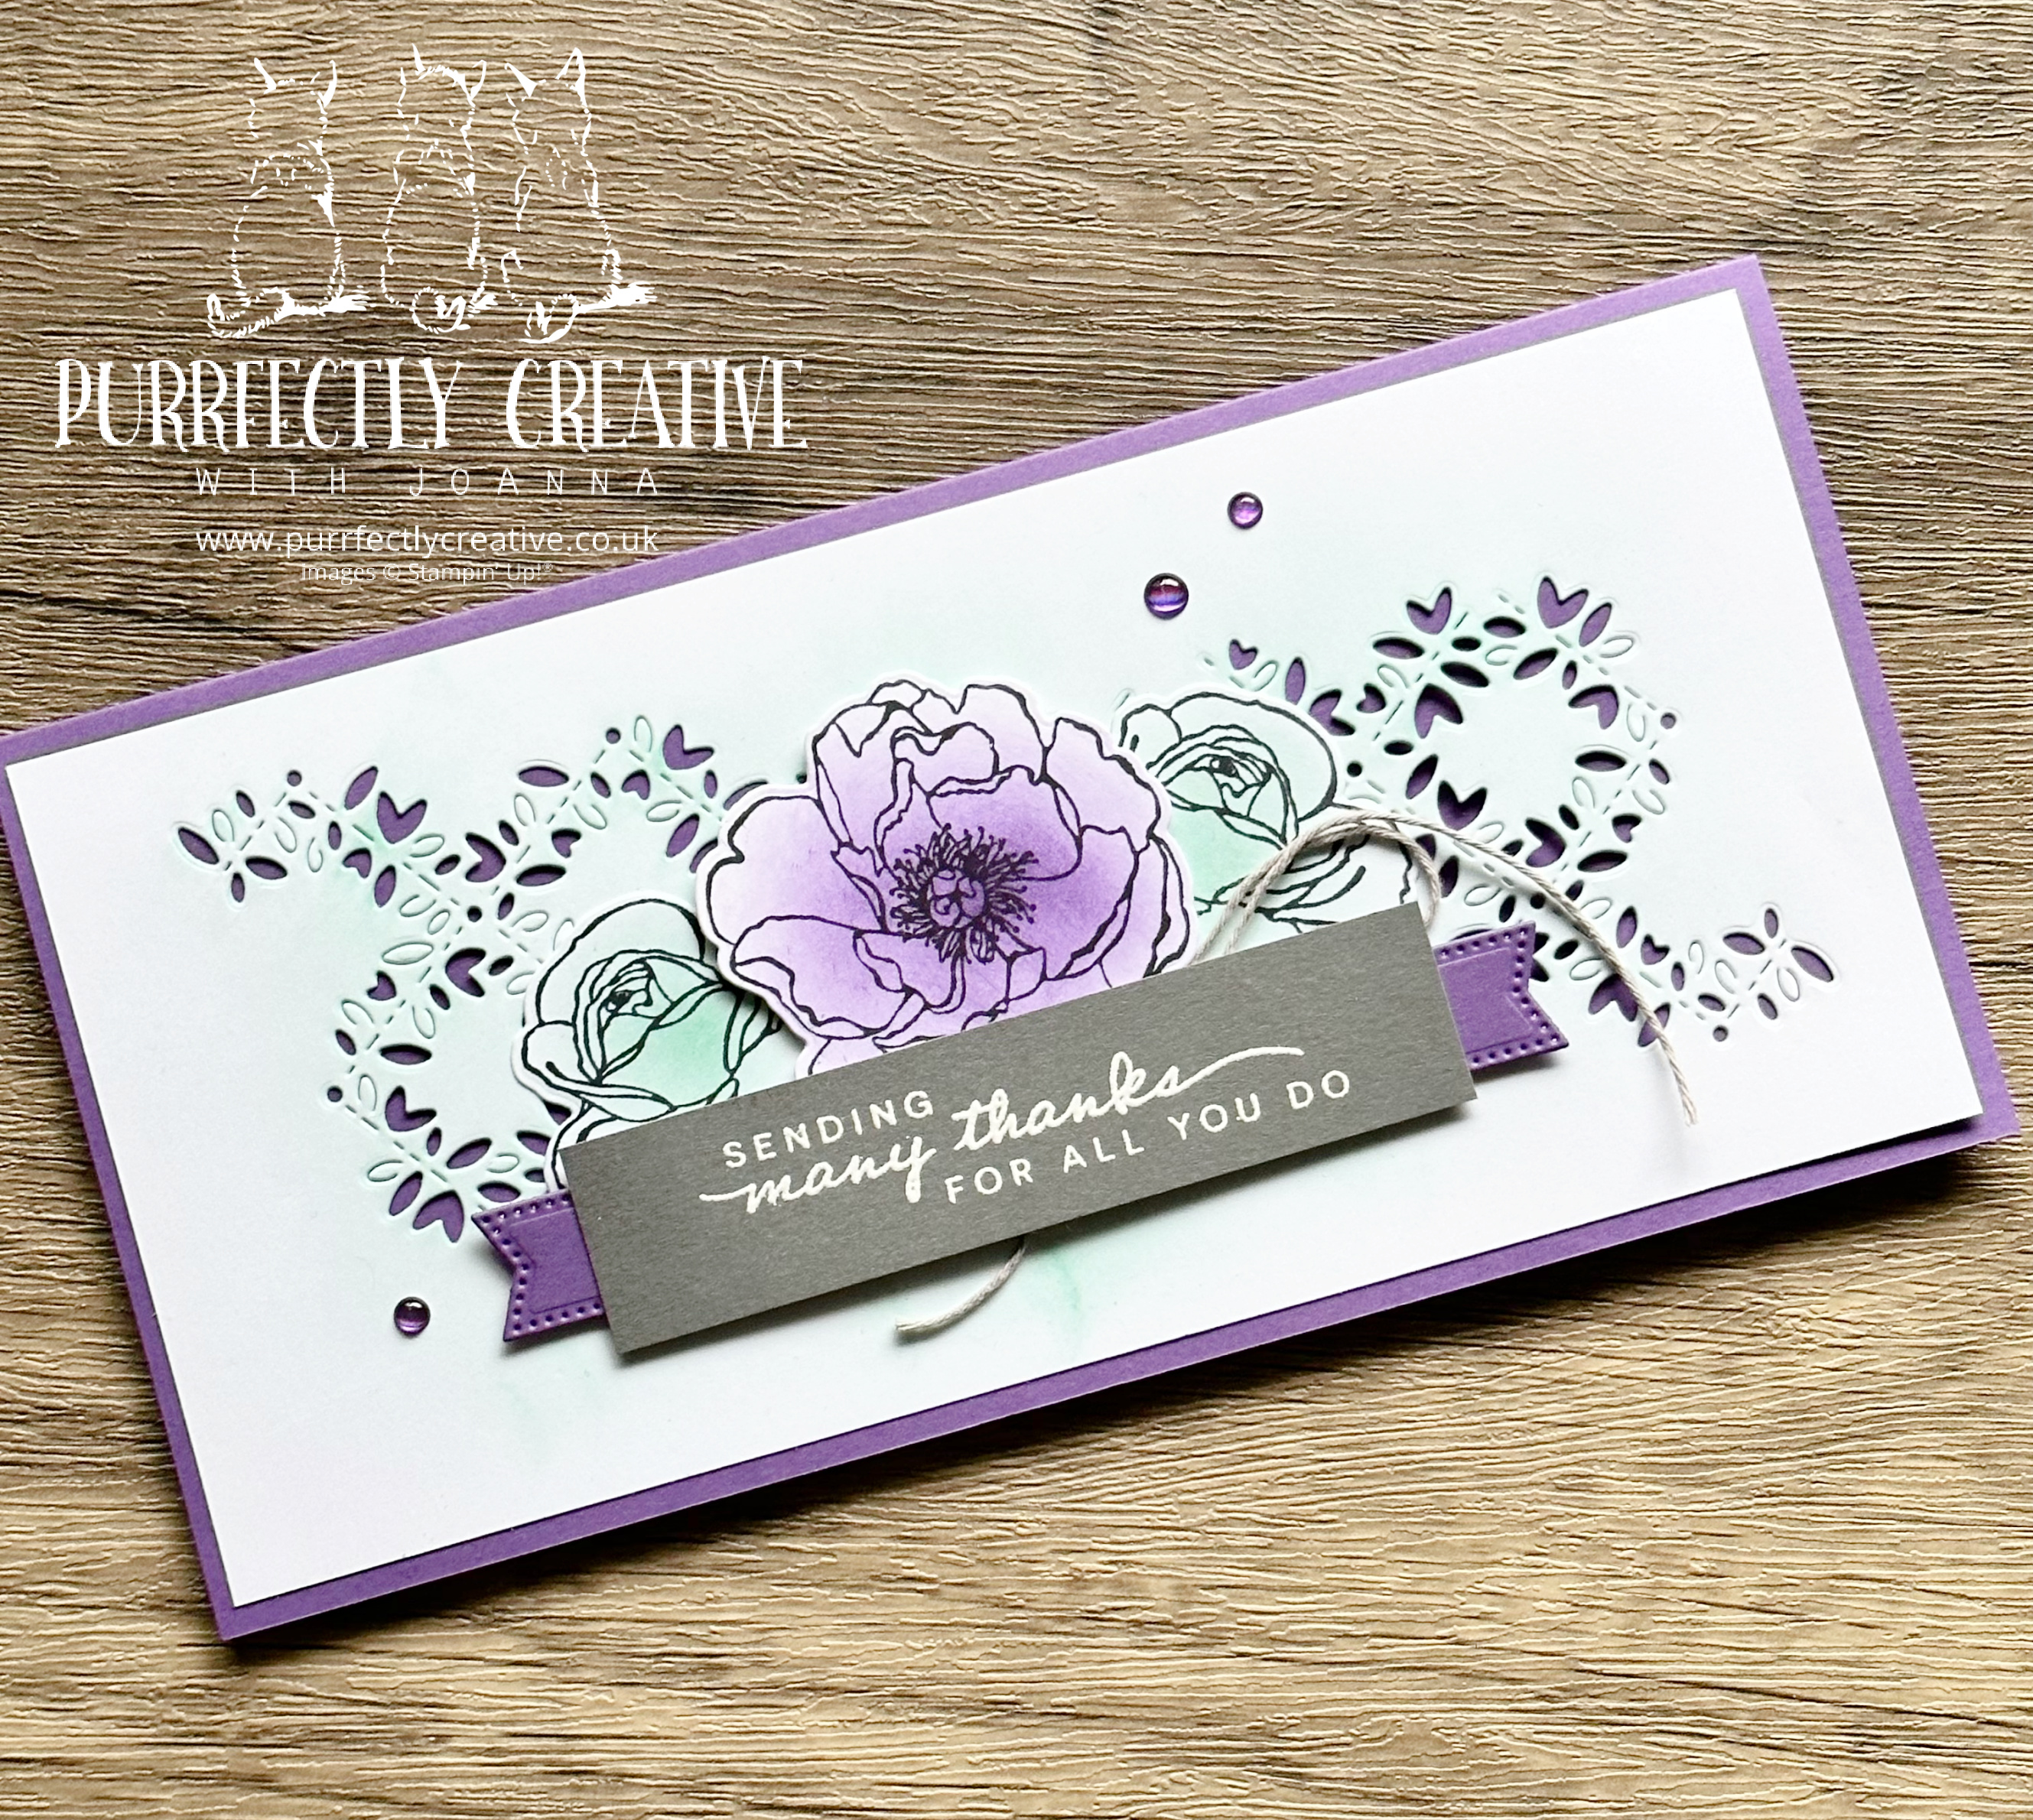
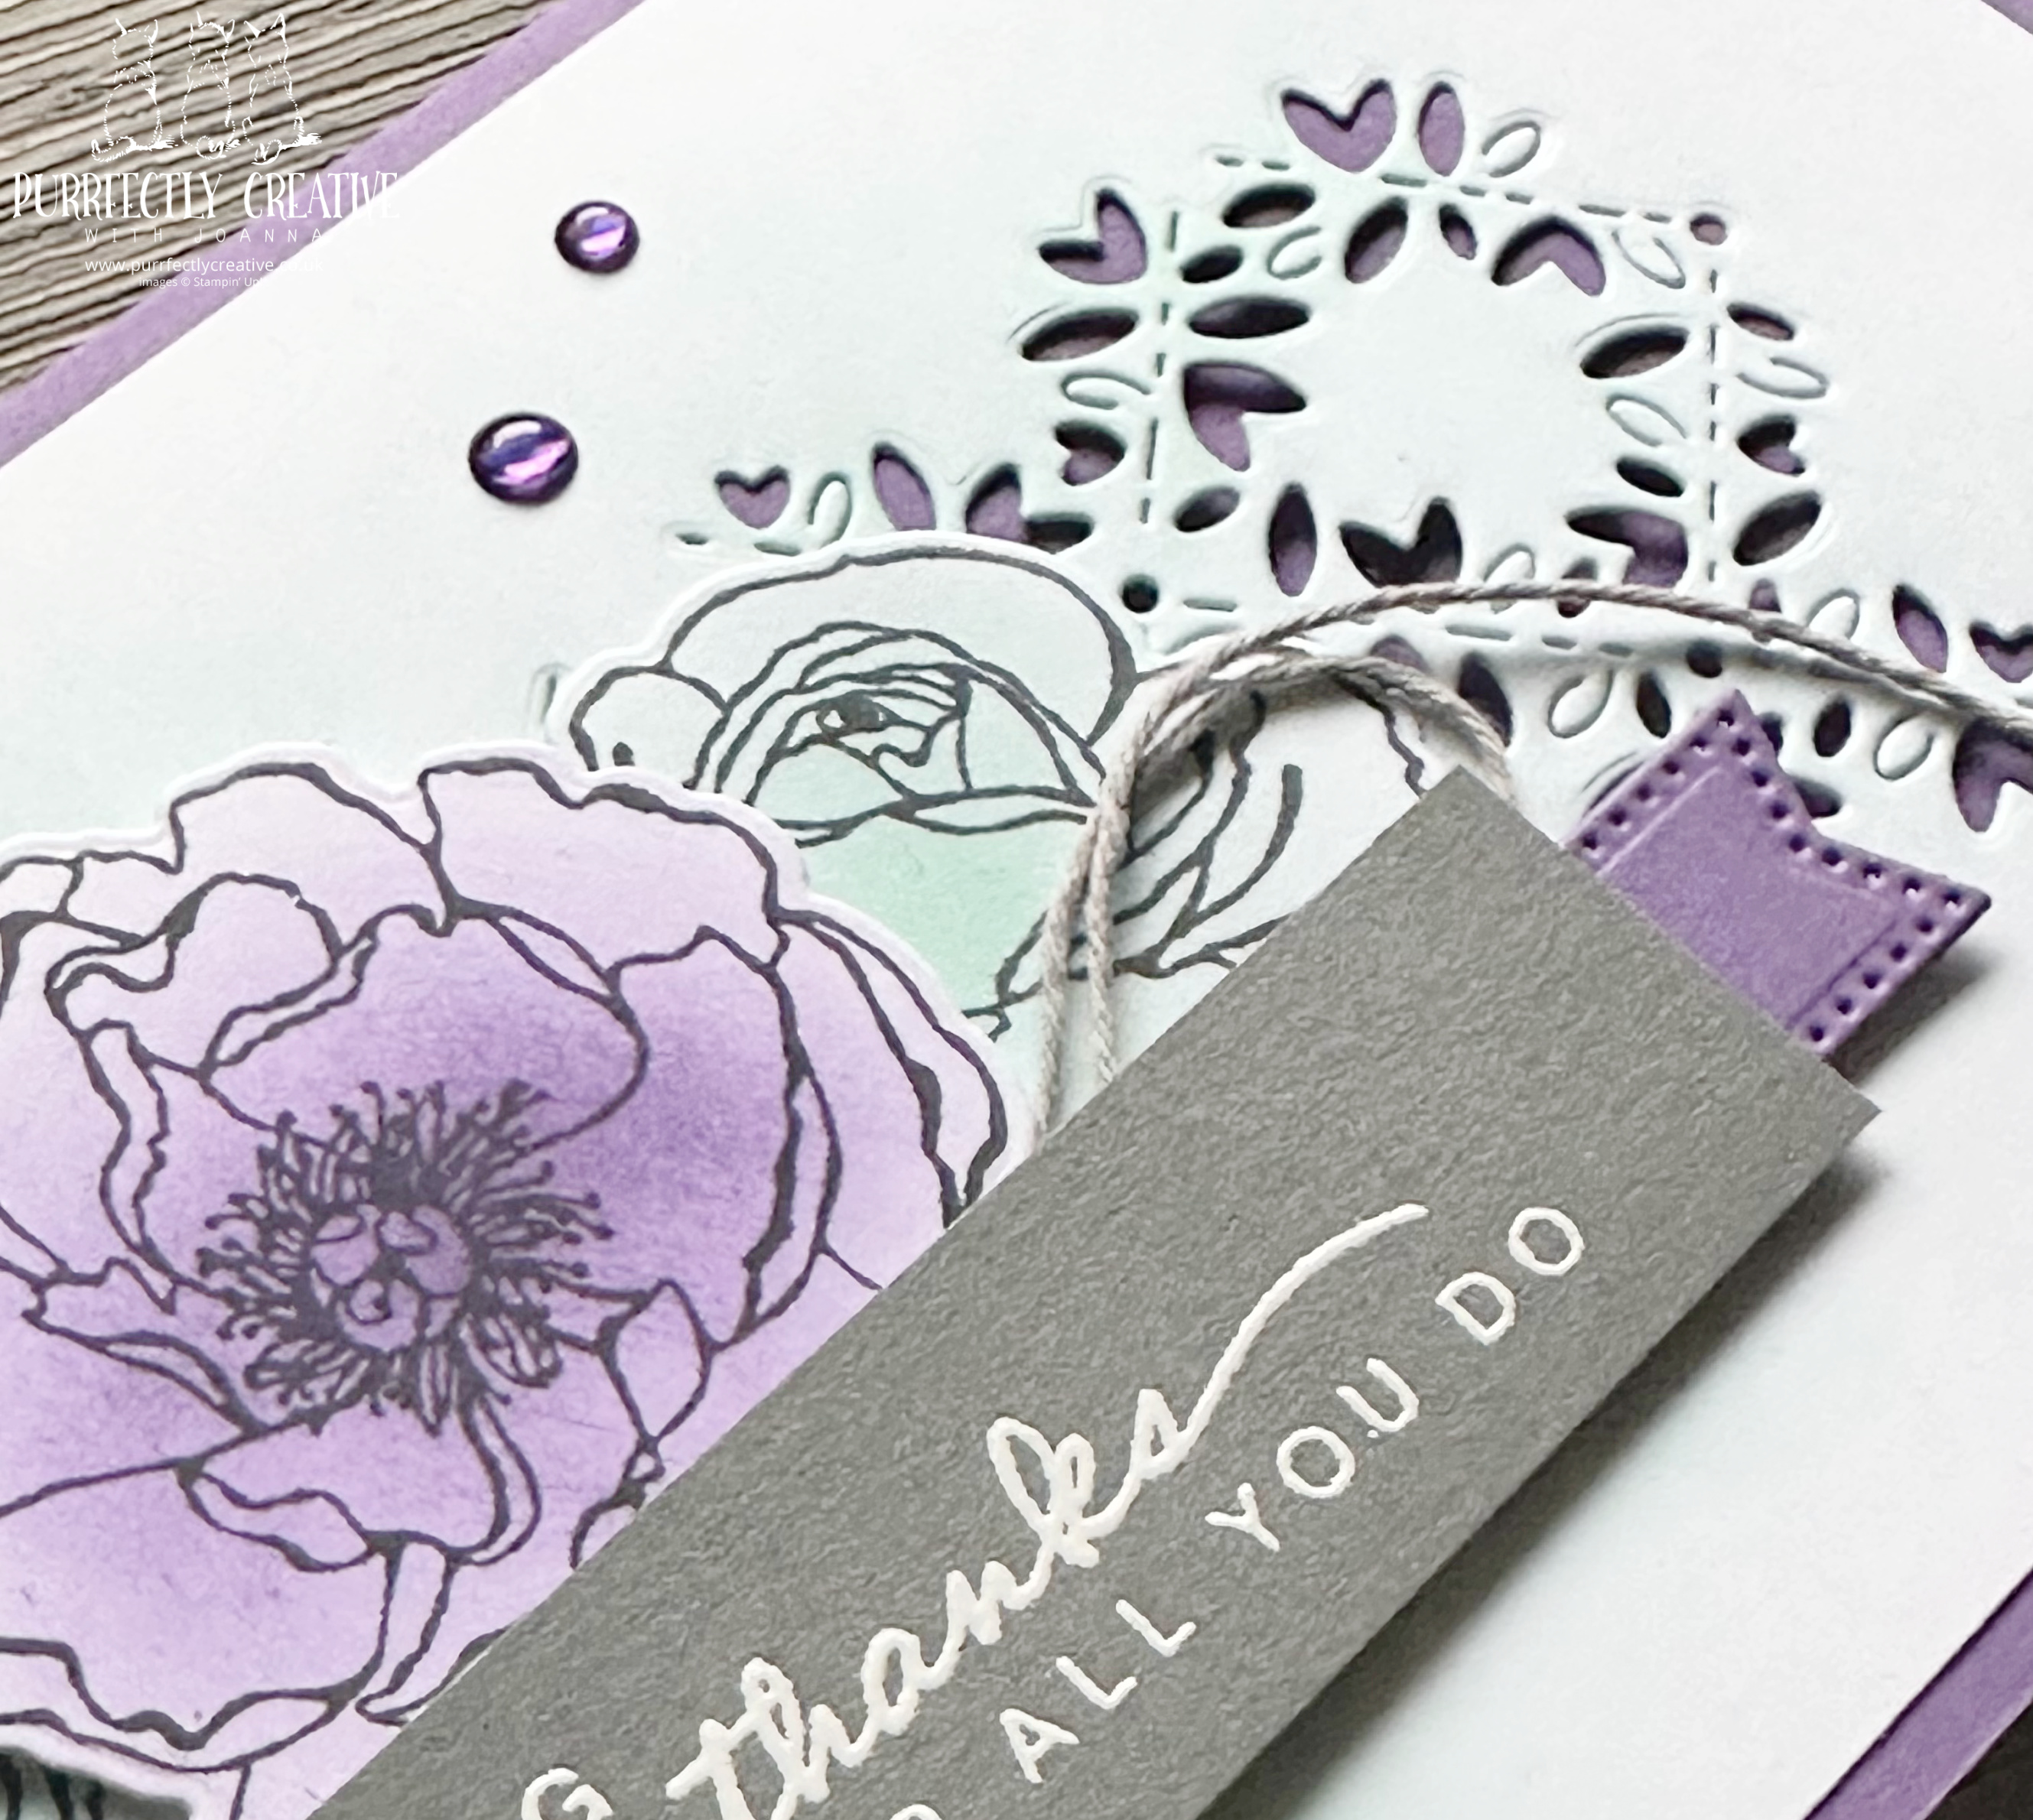
My second card, shows how you can step up a card using the background die in the set. Using Gorgeous Grape again, I created a DL card base - 8" x 8" scored on one side at 4". On a layer of Basic White, I used the background die and cut it twice on the layer. Then using a blending brush, I added some Coastal Cabana ink to give it a bit colour.
I followed this up by stamping and die cutting two of the flowers from the set. Instead of colouring with blends pens, I decided to use blending brushes to add the colour. This gave them a soft colour. I then heat embossed the sentiment in white on Basic Gray cardstock to soften the look. Die cutting a banner die from the Stylish Shapes dies, in Gorgeous Grape, I cut it in half and added a piece either end of the sentiment to make it look like a banner. I finished the card with a bow using the gray twine (who doesn't have twine lying around?!) from the Bakers Twine essentials pack, and embellishments from the suite.
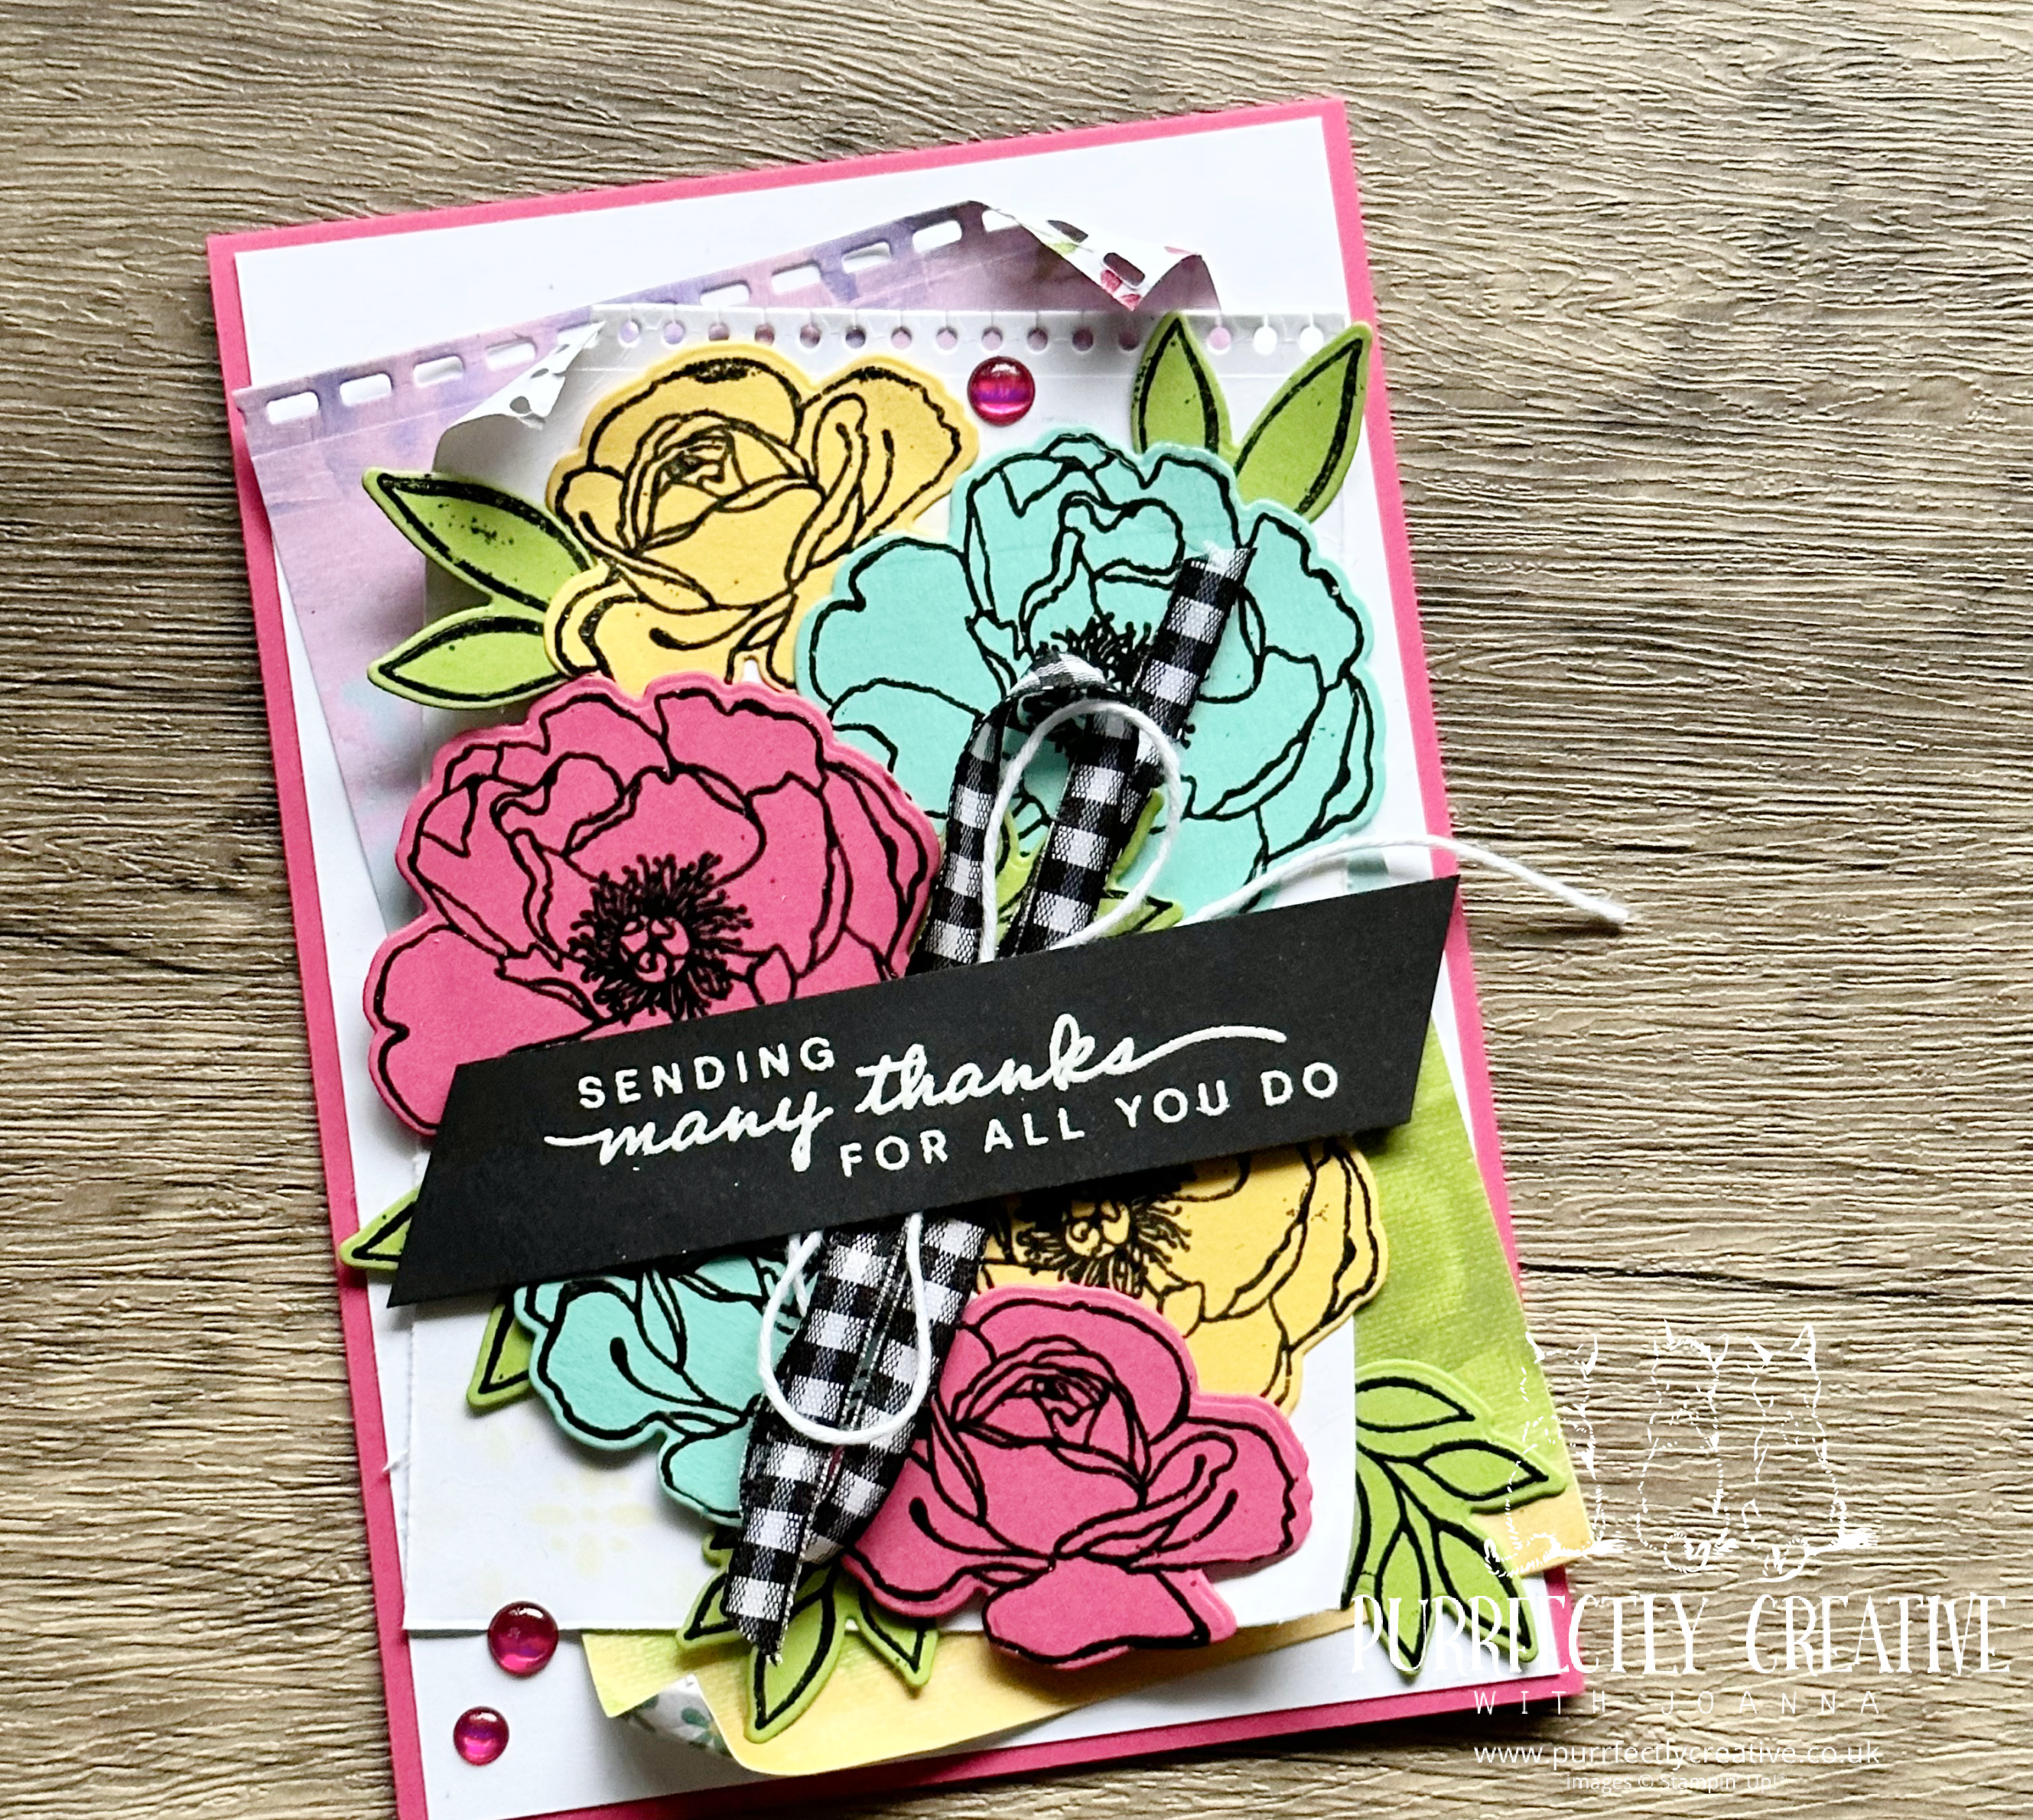
For my final card, I created a basic card base of A6 (as I did for my first card) in Melon Mambo. Again, I added a Basic White layer. If you want to step up this card further, you could emboss this layer before adding it to the card base. Then using the strip dies from the suite, I cut on from DSP and 1 from Basic White. On the Basic white piece, I used a mask from the Artistic mix set and blended in Daffodil Delight in the background. Although, you can't see it much because I then decided to to cover the layers in flowers! Haha! I distressed the edges slightly and because I offset the layers, I curled up opposite corners on each layer.
I then went mad with the heat embossing of flowers in black on Melon Mambo, Daffodil Delight and Coastal Cabana cardstock scraps. I also black heat embossed a range of leaves on Granny Apple Green. Then I die cut them all out. I originally didn't have the intention of using all of them on one card, but once I started layering them, I couldn't stop lol. I glued some of them down and then layered others on dimensionals to give depth. Finishing up the card, I white heat embossed a sentiment on a piece Basic Black cardstock scrap and layered this with not one but two ribbons - the black and white gingham and white twine again, from the essentials pack. And of course I added some of the glossy dots embellishments in pink from the suite, because, well it would be rude not to!
I hope you like my cards, the suite really is so versatile. Head over to Alison's blog here at: The Inkspirational Crafter, to see the amazing makes she's created with this suite.
Shop online with me and use my online shopping code at checkout to receive a free gift from me the following month.
Whether you want to get all the ink pads, add the large cut 'n' emboss machine or take advantage of demonstrator only pre-orders from the new annual catalogue, the choice is yours! In the starter kit, you will receive a free business supplies pack but it's your choice if you want to be a hobby demonstrator and enjoy the 20% minimum discount off all future orders or if you want to start your own business.
If you want to create your own or recreate my cards, here are the supplies I used:


No comments:
Post a Comment